After quite a long hiatus, Claudia and Denise returned on Thursday for quilting school. The three of us have been in contact over recent weeks and months - they frequently shared the projects they were working on and occasionally asked questions about something that was stumping them. It has become evident that they are getting along quite well without their old teacher! What progress they have been making!
One area they did want some instruction in, though, was machine quilting. Now I warned them that I feel like quite a novice in this area, but they still felt it would be a good day well spent. And after the fact, I must agree. We had quite a productive day.
Claudia came with a small table-topper-sized project already sandwiched together. I told her about a technique I'd seen that she might like. We stretched a length of Press N Seal plastic wrap across the top, drew a meandering design on the plastic, then followed the design with her machine.
You can see that she has her free-motion foot on; you can also see the designs drawn on the plastic wrap. This was a very good exercise in becoming smooth with the movement of the project under the needle and all the intricacies that go along with free-motion quilting on a regular machine.
She worked her way right across that project and did, indeed, get more confident as she went. The picture above is actually upside-down; just before she finished, she tried writing her name with the machine. Here's a right-side-up close-up:
You can see her name in the blue strip. Take a look at the strip just above - some of the plastic has been removed. We found that while this is a good technique for providing a guide for sewing, removal of the plastic is quite a chore.
Denise and I went to work helping Claudia pick away at the plastic wrap. It becomes laden with static and clings to everything - see that bit on the front of my jacket? We were "pickin' and grinnin'." I can't say that I whole-heartedly recommend the plastic wrap technique, simply because removal was a major pain.
Claudia's quilting shows up so much more clearly on the back, however her name is backwards, so there's a tip to keep in mind. She really progressed well through the day.
Now let's see what Denise accomplished. Her machine did not have a walking foot, so she sat down at my machine to try her hand at a project I had available.
We went through the entire stretching of the back, then layering on the batting and the top. We pin-basted, and she was ready to take her maiden voyage across the quilt.
Her stitches are straight and even and when we inspected the back, there were no egregious puckers which made us exceedingly happy. She then wanted to try some free motion quilting, so we switched out the walking foot for the free-motion foot and she created a hot-pad, complete with binding!
She, too, tried writing her name in stitches - not too bad! I would venture to say that knowing Denise's aversion to hand stitching, she will soon be investing in a walking foot. It was great to see her learn how to roll the edge to fit through the machine. She really seemed to take right to it.
After she finished her hot pad, she brought out a larger project she'd brought that she plans to machine quilt. She had already sandwiched it, but decide to take advantage of the extra help Claudia and I provided and re-do it. We were able to successfully pin the entire quilt, stretched sufficiently, and she is now ready to tackle it at home on her own. I wish I'd take a picture of it; hopefully Denise will send a picture when she finishes it and I can share it here later.
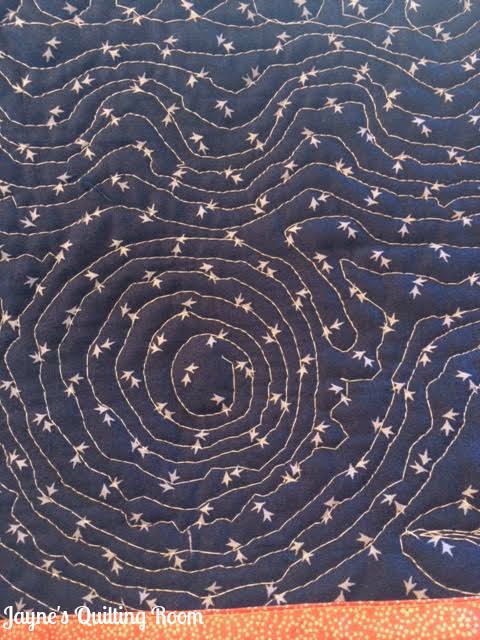
While the two of them worked on improving their skills, I took some time to do the same. I had this set-in circle sandwiched and ready for quilting, so I tried some free-motion stitching on it. Not too bad. I would readily do more of this.
Our next class is in a couple of weeks and we will be working with piecing circular things (the reason I had a set-in circle!). I look forward to it! We have fun sewing together.
Happy Quilting, Friends!

%20(1).jpg)


.jpg)
.jpg)