
One way the quilter has streamlined piecing is by employing an assembly line methods of quilt construction. Since I have begun working on the blue stars quilt, I've been looking for ways to make the units in as streamlined a way as possible.

By using the book I mentioned in the previous post, Patchwork Math by Lynn Wilder, I have my 12 blocks finished. Here are the simple steps.
In the previous post, I shared how I finished the corner square triangle units. This post shows the process of making flying geese, the points of which will be the points of the stars. I started by referencing the section of the book for no-waste flying geese. The picture above shows the first part of the process that I photographed. The actual starting point requires a large white-on-white square and 4 smaller squares which will yield 4 flying geese, enough for one star.
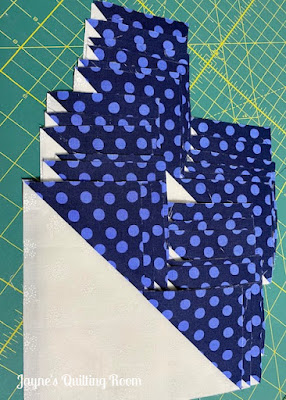
After pressing the blue sections open, the remaining squares will be added.

I needed to make star points for 7 stars; the parts for those very points are all ready for the next round of stitching.

And here are the finished flying geese units, all trimmed and ready to be sewn into stars.

Ready to be joined to those flying geese are these parts - the center squares, and the corner square triangles. Now for the assembly line. I lined up all the star parts and stitched 'em up lickety-split.

I had 5 made earlier, individually. The last seven went together easy-peasy using the book and chain piecing.
These 12 stars will need to have 13 coordinating stars, and you can bet that I will be chain piecing those as well.
Happy Quilting, Friends!

Such a sophisticated looking quilt! So glad that you discovered ways to move the process along quickly using Lynne's book.
ReplyDelete