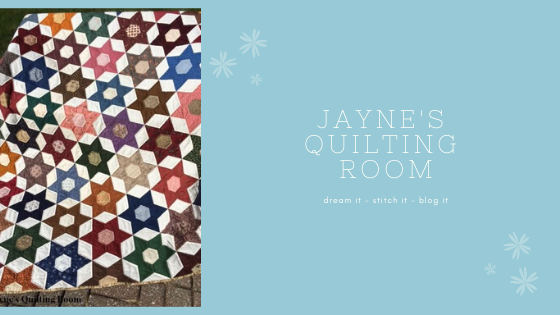
The quilts contained on Grandma's page are just a fraction of the quilts she made over her lifetime. From that page, I took the three pictures below showing quilts that are all pretty much the same pattern - one Grandma called Stars and Stepping Stones.


My guess is that the blocks are 12 inches - what Grandma seemed to prefer - more expedient to make quilts with big blocks, you know. She was a no-nonsense quilter. There was no time for fussy-cutting or using ridiculously small pieces and complex construction in her day.
So back to Vivian's request. I do not know of a specific pattern that Grandma would have used, but I can very easily help out with instructions, as these two blocks are very basic and easily adaptable to any size. Vivian had already begun working on 10" blocks, so that determined the size I would work on.
And now, I am going to offer up an easy tutorial for Vivian and all you readers, as well. First, let's tackle the 10.5-inch (10-inch finished) Ohio Star block.
The parts shown in the picture above will make one star block. Cut 4 squares at 4.75-inches, then sub-cut them twice, diagonally. Cut 4-inch squares, 1 dark and 4 light.
Construct the star points. Press. Trim to 4-inches. Lay out and stitch the star like so:
NOTE: If you prefer a 3-color star instead of a 2-color star, the simple difference in cutting is this: When cutting the 4.75-inch squares, cut two in the fabric for the star, one in the background and one in the 3rd color. (Look at Grandma's 3 quilts above; two of them have a 3rd color.)
Now, we will move on to the 10.5-inch (10-inch finished) Stepping Stones block. I am opting to make mine using a different pattern than Grandma did, as I think it will require fewer steps and less cutting/stitching. Two different blocks, yet the exact same look.
Cutting for this block will require 8 light squares and 8 dark squares at 2.25 inches. Sew these into 4-patch blocks as shown in the picture. Then cut 5 squares at 4 inches, one dark, four light. Lay out the block and stitch using the picture as a diagram.
And that is all there is to it. Both blocks are super simple, and would be quick work. The hardest part will be fabric decisions, as this will look gorgeous in lots of color combinations.
Can't envision it? Wonder how these blocks would look in a full-sized bed quilt? I used a photo-editing app to mock up an entire quilt. Oh my goodness, this might have to go on my to-do list, for sure!
This is a straight set, meaning no side and corner triangles, whereas Grandma's were all on point, which did require triangles; either way, the look is fantastic. Doesn't this make you want to dive right into your stash and get busy?! If my calculations are correct, the mock-up above would require 41 Stepping Stones blocks and 40 Ohio Star blocks for a quilt that will be in the neighborhood of 90 inches square. You'll have to figure out yardage requirements. (That kind of math is above my pay grade!)
Well, Vivian, I hope this is helpful. I sure am glad you reached out. Be sure to send some pictures of your work as you progress; I would love to see!
Happy Quilting, Friends!


Thank you verry much. I love your grandma's quilts
ReplyDeleteI love your Grandmother's quilts and the mock up looks wonderful with the figured background. Sigh, another one for the To Do list. You're killing me girl with the lovely project ideas I get from you.
ReplyDelete